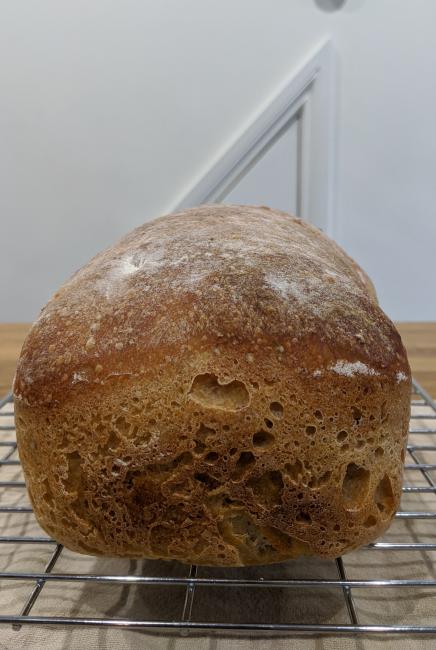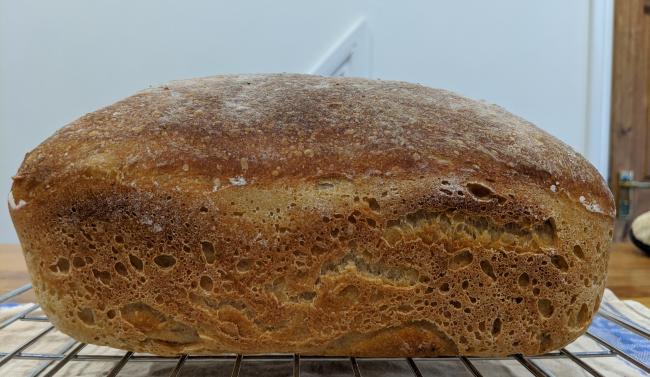
I thought I'd try something different, and I also needed some bread to toast, so I tried baking a sourdough loaf in a bread tin.
I have two slices of toast every morning (with two boiled eggs) and usually have a loaf of granary or white in the freezer so that I can just pop two slices into the toaster as my eggs boil and I make some coffee.
It seems sensible to stop buying that shop-bought loaf and to make my own, and I had a perfectly ripe starter crying out to be used.
I wasn't too sure what I was doing, but I found this simple recipe on Alexandra's Kitchen, so gave that a shot.
I made some variations: I followed my usual method of autolysing the flour and water on its own for an hour, then folded in the starter and salt, followed by four sets of stretch-and-fold. I also didn't add any oil to the dough or the baking tin - I have a decent non-stick Le Creuset tin and nothing has ever stuck to it.
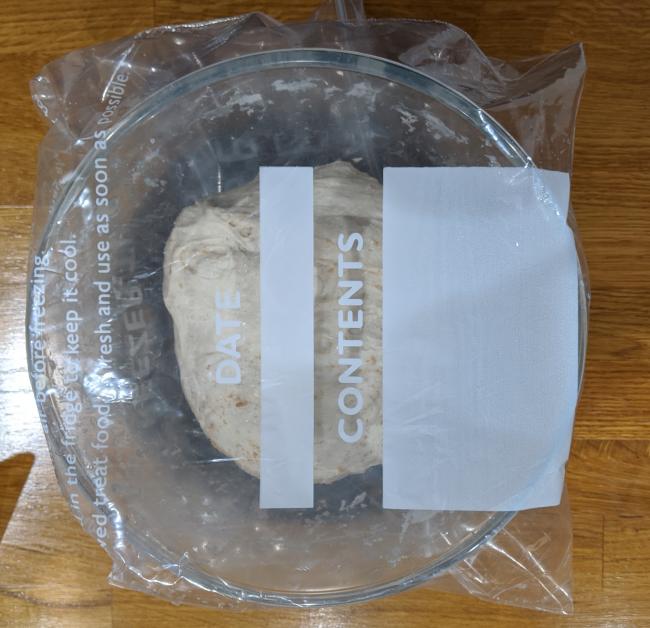
For the initial rise, I left the dough in the bowl on the worktop overnight. In total, it was probably there for just over 10 hours, and in that time, it had grown over the height of the bowl!
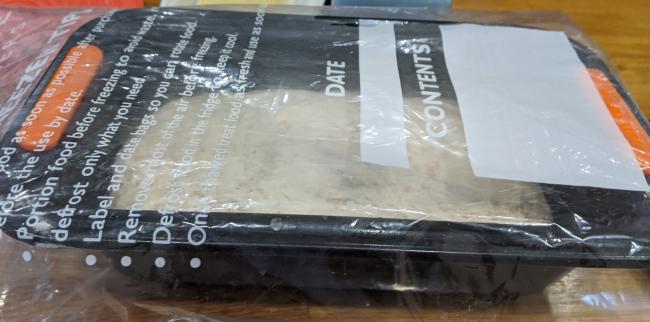
For the second rise, I transferred it to the tin and it grew steadily until it was as tall as the tin over about 4.5 hours.
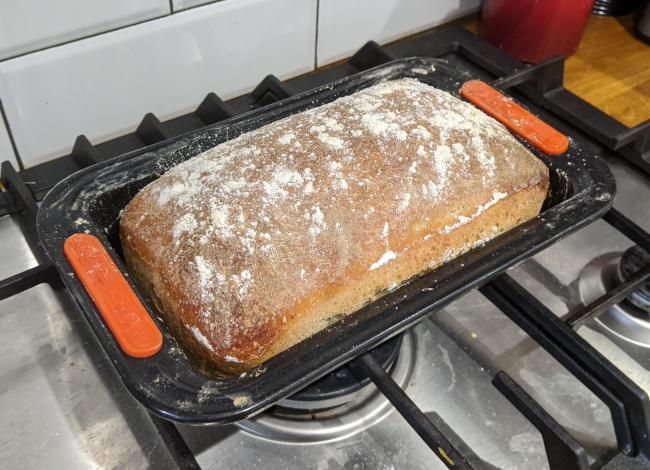
I initially baked it for 20 minutes at 200C (electric, fan oven) and then a further 20 minutes at 180C. I then left to cool for a good few hours before cutting into it.
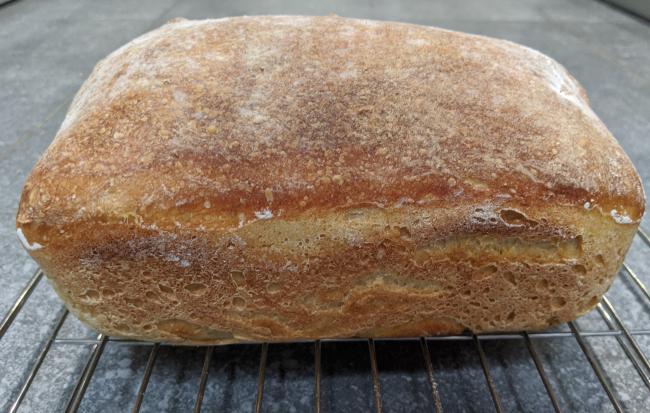
I was really pleased with the height of the loaf, and the classic sandwich loaf shape which will be perfect for my morning toast.
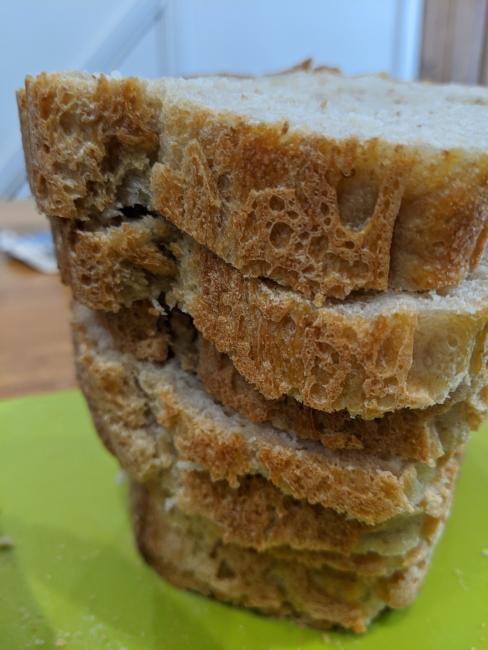
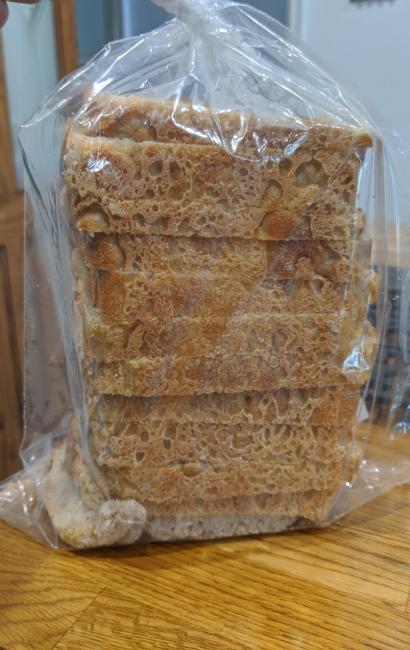
Cutting into it, I was also delighted to see an evenly spread crumb with very few holes. Holes aren't ideal for buttering toast! However, further, towards the end of the loaf there was a large hole, almost forming a tunnel, meaning one or two slices are probably useless. Not a total disaster and probably a sign that I hadn't shaped properly. No biggie. I've bagged the loaf up and it's now in the freezer ready for tomorrow's toast!
