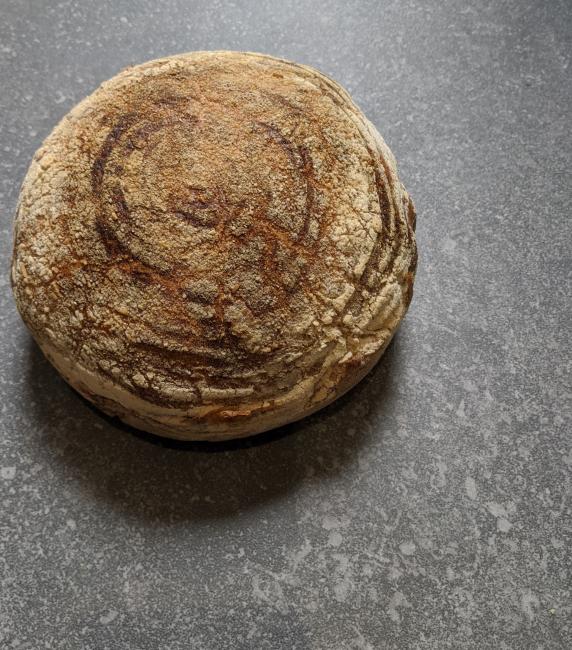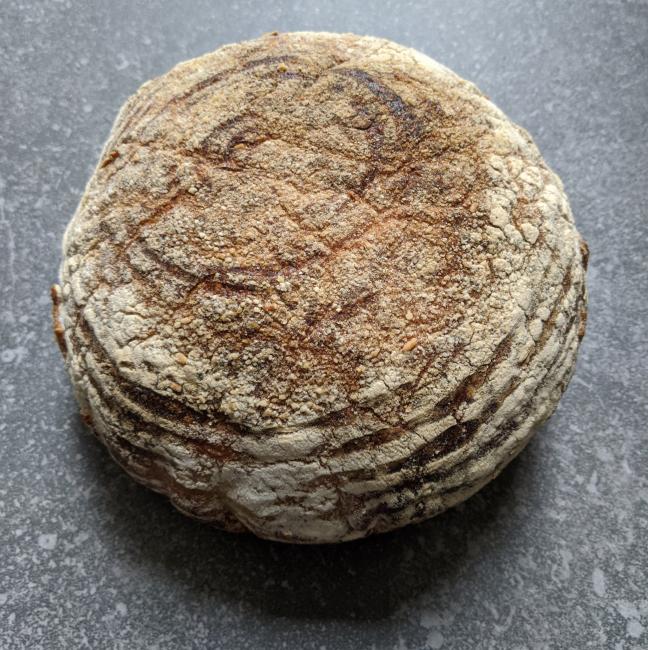
This time, I was determined to get a loaf that had the signature banneton lines and didn't stick to the banneton when it was time to bake.
I baked a previous loaf the day before this, and on the whole, it was great, but it stuck to the banneton, meaning it lost the definition to the shape, it was a bit too dark for my liking - verging on over-baked - and I turned the oven down to see if this would make a difference to the rise. It did, and there wasn't anything close to any 'ears'.
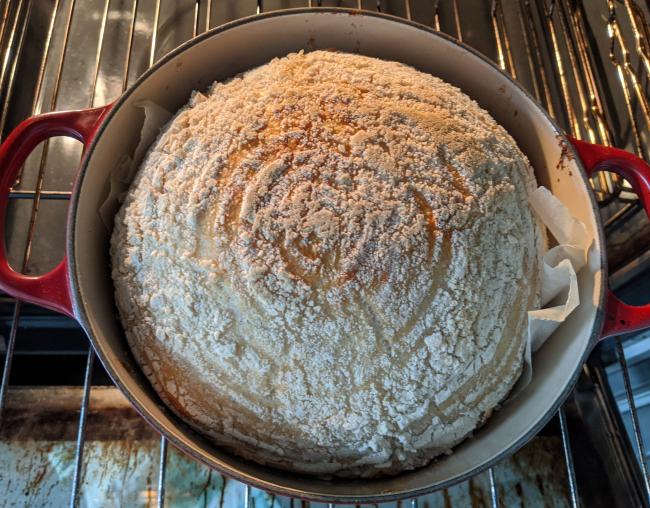
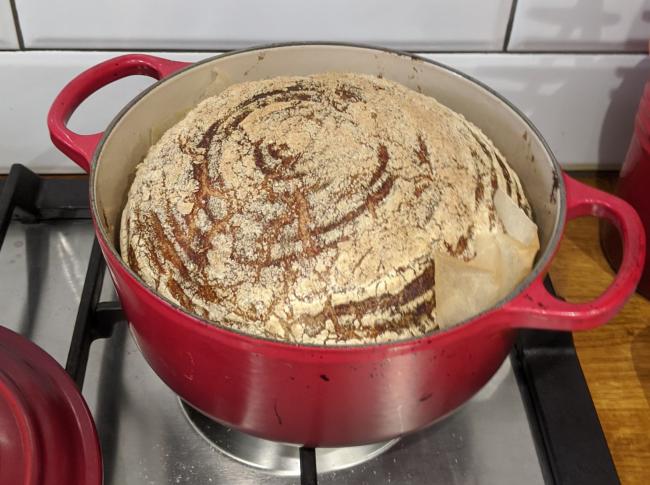
This time, I was going to stick to two 20 minute bakes at the right temperatures (the first with the lid on at 260C and the second at 230C with the lid off) and use rice flour to ensure the dough didn't stick to the banneton when turned out.
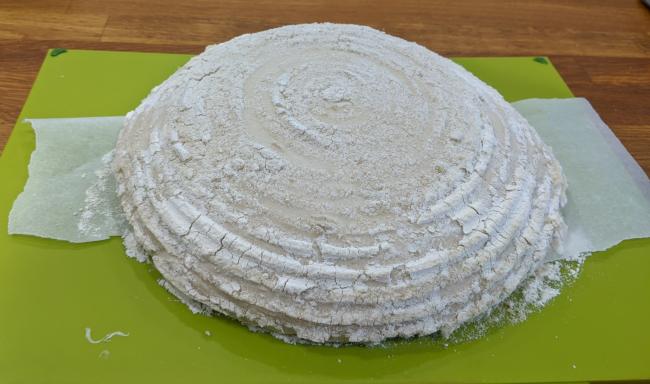
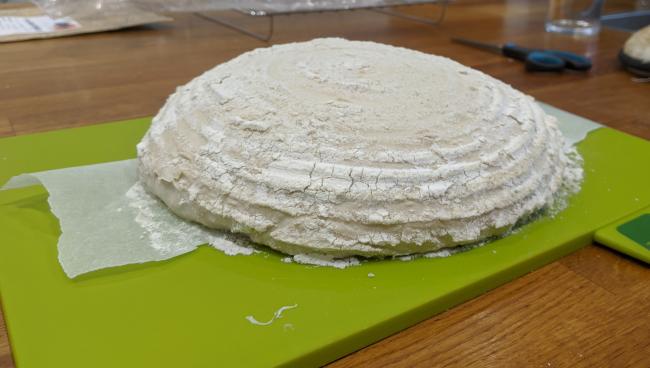
I decreased the hydration for this loaf. I had a bit of trouble with the last one, with it being really difficult to handle when completing the final shape. Although with hindsight, all I really needed was to refrigerate the loaf overnight for the bulk rise - a cold piece of dough is much easier to handle and more forgiving to new bakers! In the end, I did both - the hydration was around 70-72% and the bulk rise was two hours at room temperature, and then in the fridge overnight for a further nine hours - 11 hours in total.
The next day, I pre-shaped the loaf and left it to rest on the worktop for 30 minutes. It was really easy to handle and wasn't too big or loose. Then, I made some rice flour, generously scattered this around the banneton and popped the dough into it. I added some more flour to the sides just to make sure it wouldn't stick and then left it for about 4.5 hours to rest on the worktop.
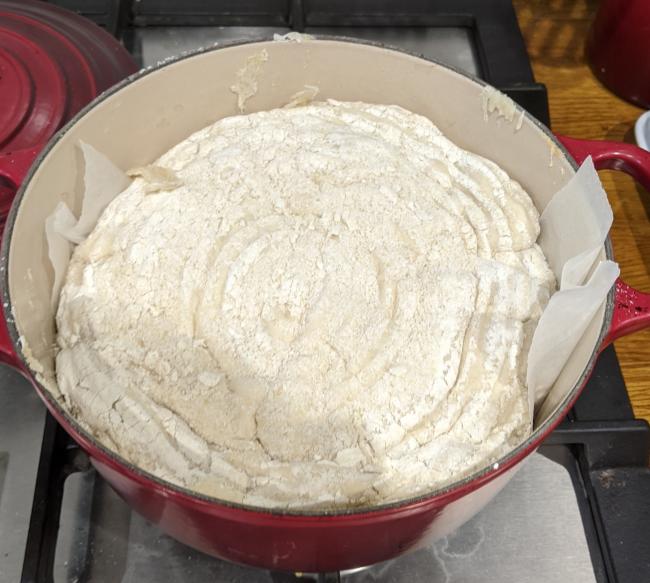
Rather than invert the loaf directly onto a square piece of baking paper, for the first time, I thought I would try a 'watch-shape' piece of paper which was cut to the size of the pan with two side panels to help with manoeuvering the loaf.
Whilst the dough was rising, I pre-heated my Dutch Oven for a good hour before transferring the dough into it to bake. I needed some help from Tom at this point, because cutting away the sides of the baking paper meant the dough flopped at the sides and needed a bit more support than I could manage with two hands. The good news was: it didn't stick!
I achieved everything I wanted - the loaf didn't stick, it had the banneton lines through the loaf, but I forgot to score the dough! This wasn't a total disaster - the loaf didn't crack, or worse, explode. But I certainly won't forget this next time! I haven't tasted this one yet as it is for family, who will get it tomorrow, so that's also a good test to see how the loaf will hold up for two days...
