I've been keeping my 'mother' starter in the fridge and have fed it weekly so far. Each time I want to do a bake, I've taken some from the mother starter, fed it and left it on the side to grow.
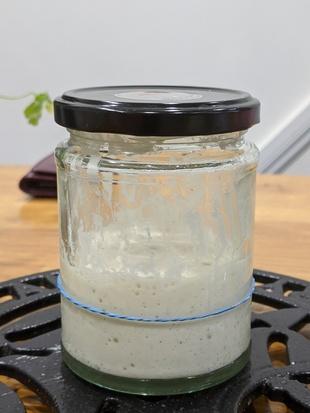
I wasn't happy with the remaining starter I had from my last loaf, so I started a new baby starter at 10.30am. I fed it and left it the worktop all day. I didn't check on it until 6.30pm and it had increased in size and, judging by the residue down the side of the jar, had already been larger and was now on a downward curve.
At 7.30pm, I decided to feed it again, thinking that would push it to grow again and I could then start a bake in two or three hours. This was, of course, risky, especially as that meant working through until midnight or later.
I returned to the starter one hour later at 8.30pm to check on it and to make sure it was growing (it was), and again at 9.30pm and at 10pm. I decided at this point to start the autloyse. At 11pm, the starter looked pretty strong and perhaps could have done with a further hour or two, but I went with my gut and didn't want to leave it overnight and have to feed it again. So at this point I mixed the starter and salt into the autolysed dough and completed the first stretch-and-fold.
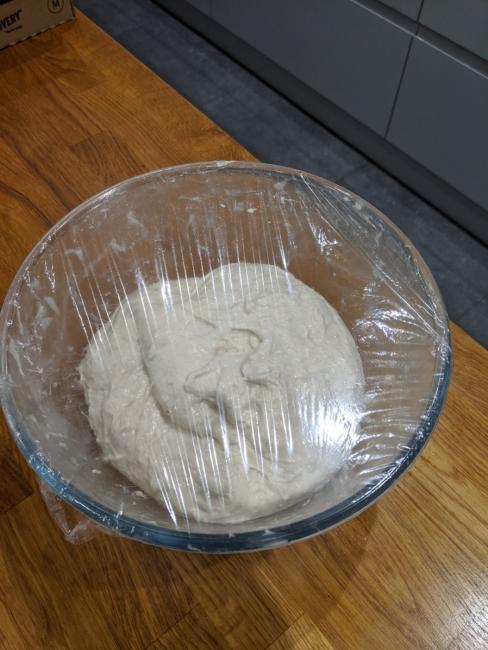
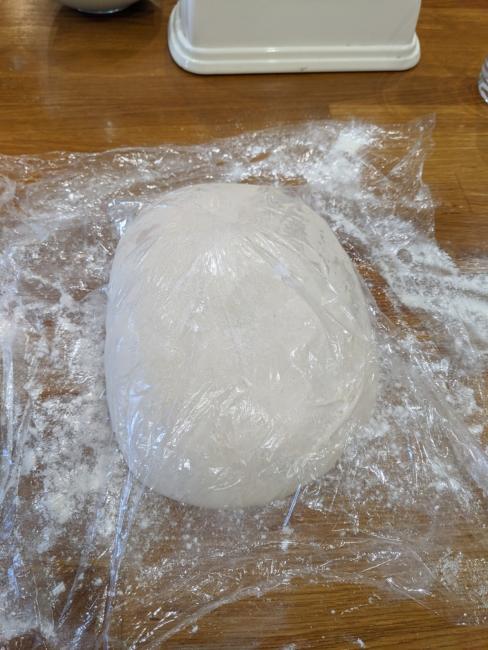
I mixed the flour and water together and left this for one hour to autolyse. I then added the starter and salt and roughly mixed together through the stretch-and-fold method. I then completed four more stretch-and-folds at 30-minute intervals before placing in the fridge overnight.
at 10am, I removed the dough from the fridge. It had a nice shine to it and some visible bubbles. I pre-shaped and then left to bench-rest for 30 minutes. Then, moved to the banneton and set a two-hour timer to leave it for the final proof. After an hour, I did a poke test, and felt like it was nearly ready so put on the oven to pre-heat my Dutch Oven.
At two hours, I removed it from the banneton. On previous bakes, I had lifted the dough out of the banneton onto baking paper which then goes into the Dutch Oven. But I realised that I should be turning the loaf out onto the baking paper. So this is what I did this time, hoping that I'd get the indentation from the banneton basket. Typically, the loaf stuck to the banneton. But nothing major. A few tugs and it came away.
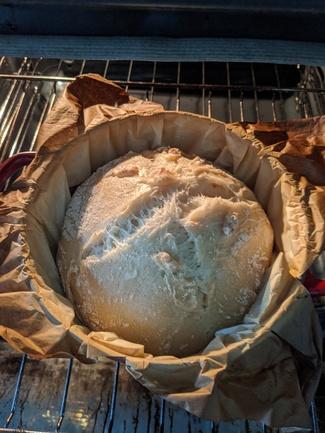
As the loaf was slightly bigger than my previous attempts (500g instead of 400g), I increased the initial bake to 25 minutes.
I then removed the lid and turned the heat down for the final bake for a further 20 minutes and then left to cool in the oven for 20 minutes more.
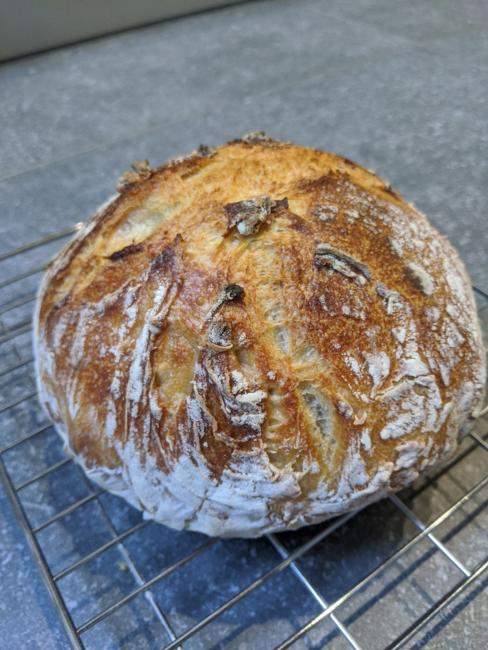
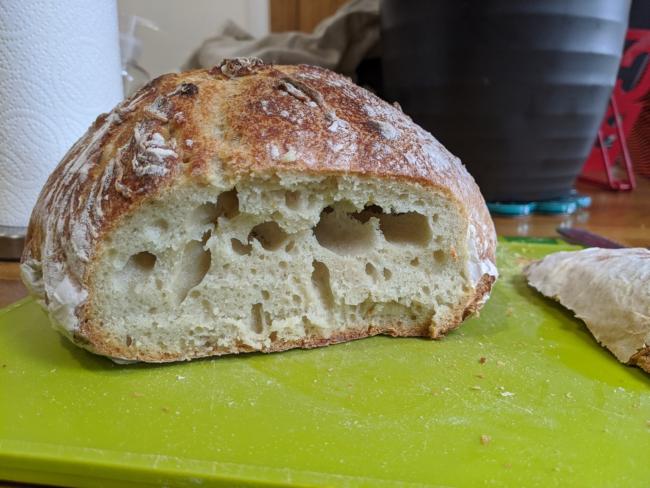
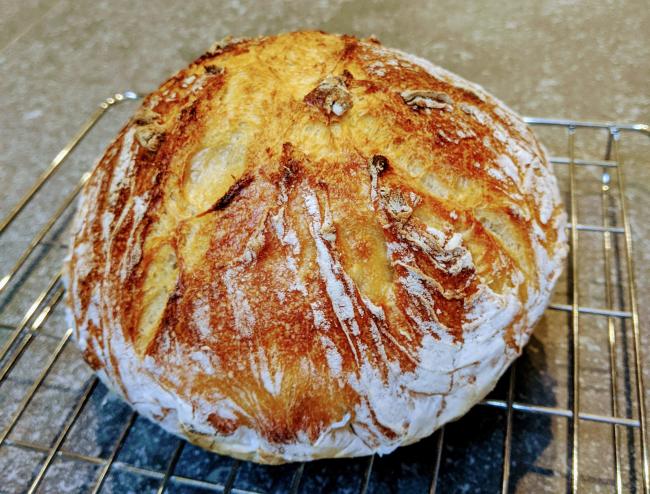
I'm really pleased with the rise, colour and weight of this. Slight problem in that the paper has stuck to the bottom of the loaf - turns out that wasn't baking paper...
There are also no visible marks from the lines across the banneton. This was probably to be expected, but certainly something I want to work on for next time.
